This two post series will explain how to utilise various Microsoft Azure services to distribute your Microsoft App-V 5.0 content to a wide audience externally.
- App-V + Azure [Part 1]: Serving App-V content using Azure Blob Storage
- App-V + Azure [Part 2]: Scaling App-V content distribution using Azure CDN
Design
In our topology, we will assume that App-V users are off-premise.

The App-V publishing server will be published via reverse proxy to the web on domain appv.domain.com.
Steps
1. Create Azure Storage account and container
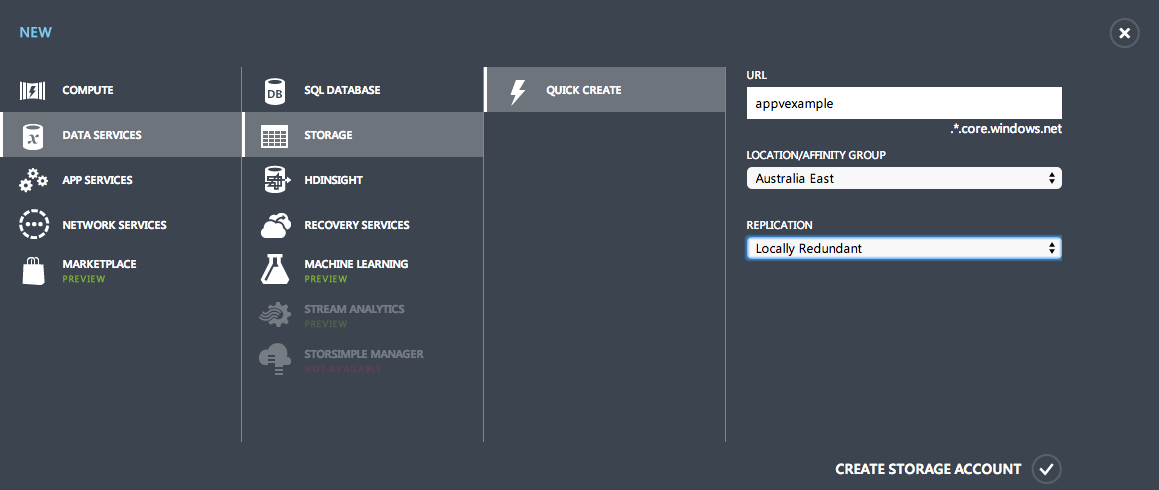
In the Azure Portal, create a Storage Account. Choose a URL, datacentre and type of data replication (for a good explanation on the differences in data replication, see this post)

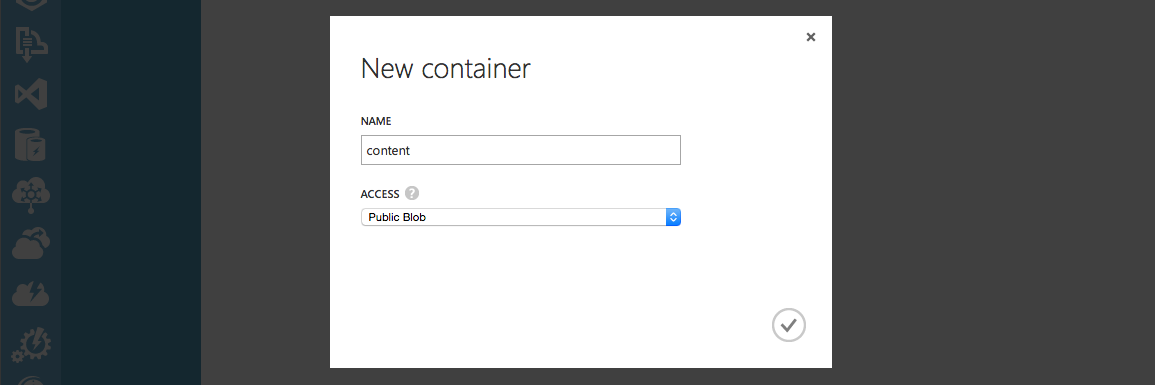
Next, create a container to host the content inside.

2. Move a sample package into Azure Storage Container
Using the storage account access keys, upload your .appv files to the container.

Optional: In the container, set the .appv files to the MIME type "application/appv" or "application/x-compressed". Both are acceptable to the App-V Client.
3. Test the package in the App-V Client
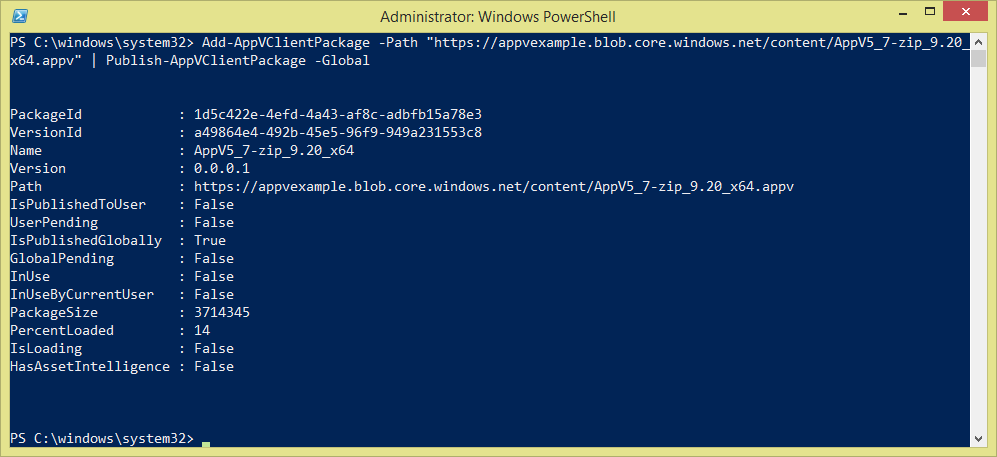
Open an administrator PowerShell prompt and try the following:
Add-AppVClientPackage -Path "https://appvexample.blob.core.windows.net/content/AppV5_7-zip_9.20_x64.appv" | Publish-AppVClientPackage -Global

If your output matches above, you should now see 7-Zip published to your machine.

4. Add the package to the App-V Management Console
Copy the full URL to the package into the App-V Management Console and assign rights as necessary.

Note: The server hosting the App-V Management Console needs to have access through the firewall to your storage domain. (appvexample.blob.core.windows.net)
Conclusion
HTTP streaming with App-V allows you to separate your App-V publishing from your content. It allows you to be smarter with how that infrastructure is designed. The next post will demonstrate how to scale this further using the Azure CDN Service.
If you're looking to co-locate your content publishing and App-V Publishing Server components, check out this great post.
Jourdan