Update 2025-05-03: This guide is no longer relevant as of Home Assistant version 2025.1. The new backup experience has significantly improved. See here for more detail: https://www.home-assistant.io/blog/2025/01/03/3-2-1-backup/
This is my first post after a long hiatus. In the last few years I have been doing a lot with home automation, more specifically building out integrations and automations on top of Home Assistant.
For those who are new to Home Automation and Home Assistant (HA), check out the official Getting Started page.
Backups
Home Assistant is one of the most actively contributed Open Source projects. There are regular updates to both Home Assistant and the addons/integrations/plugins etc. As such I wanted to make sure I had good backup coverage - in case the hardware running the instance failed, or in case of an update going bad.
For my particular setup, there are two areas where I can perform backups:
- HAOS - I am running Home Assistant as a Virtual Machine on an M2 Mac Mini. I prefer HAOS because all the native docker integration works without any interaction from my side. Given this is a VM, I can take VM snapshots prior to potentially destructive tasks which gives me a nice and easy roll-back point.
- Configuration - Home Assistant supports built-in backups which are taken automatically when addon or system updates are installed. You can also initiate checkpoint backups too. this is the option I want to focus on in this post. This is the backup type I'll be focusing on in this post.
Storage in Home Assistant
HA allows you to set up remote network storage and use that as a backup target. Based on reading the /r/homeassistant and HA Commmunity Forums, many people choose to mount an SMB share from another network device and offload backups there. This would generally be a NAS to upload the backups to.
I would prefer to have an off-site backup with minimal effort managing another external device. The ideal place for me to land those backups would be an Azure Storage Account (Azure Files specifically).

Azure Storage and SMB
Azure Storage is Microsoft's cloud storage offering. It supports file/block level storage as well as a file share offering called Azure Files. This service allows you to remotely mount your Azure Files share using NFS or SMB. This is the feature we'll be leveraging today.
If you need help setting up a storage account, refer to: https://learn.microsoft.com/azure/storage/common/storage-account-create?tabs=azure-portal and here to create your Azure Files share: https://learn.microsoft.com/azure/storage/files/storage-how-to-use-files-portal?tabs=azure-portal.
With our Azure Storage account deployed and an Azure Files share created, we should be able to mount the storage within HA and use as a backup target.
Setting up HA backups to Azure Storage
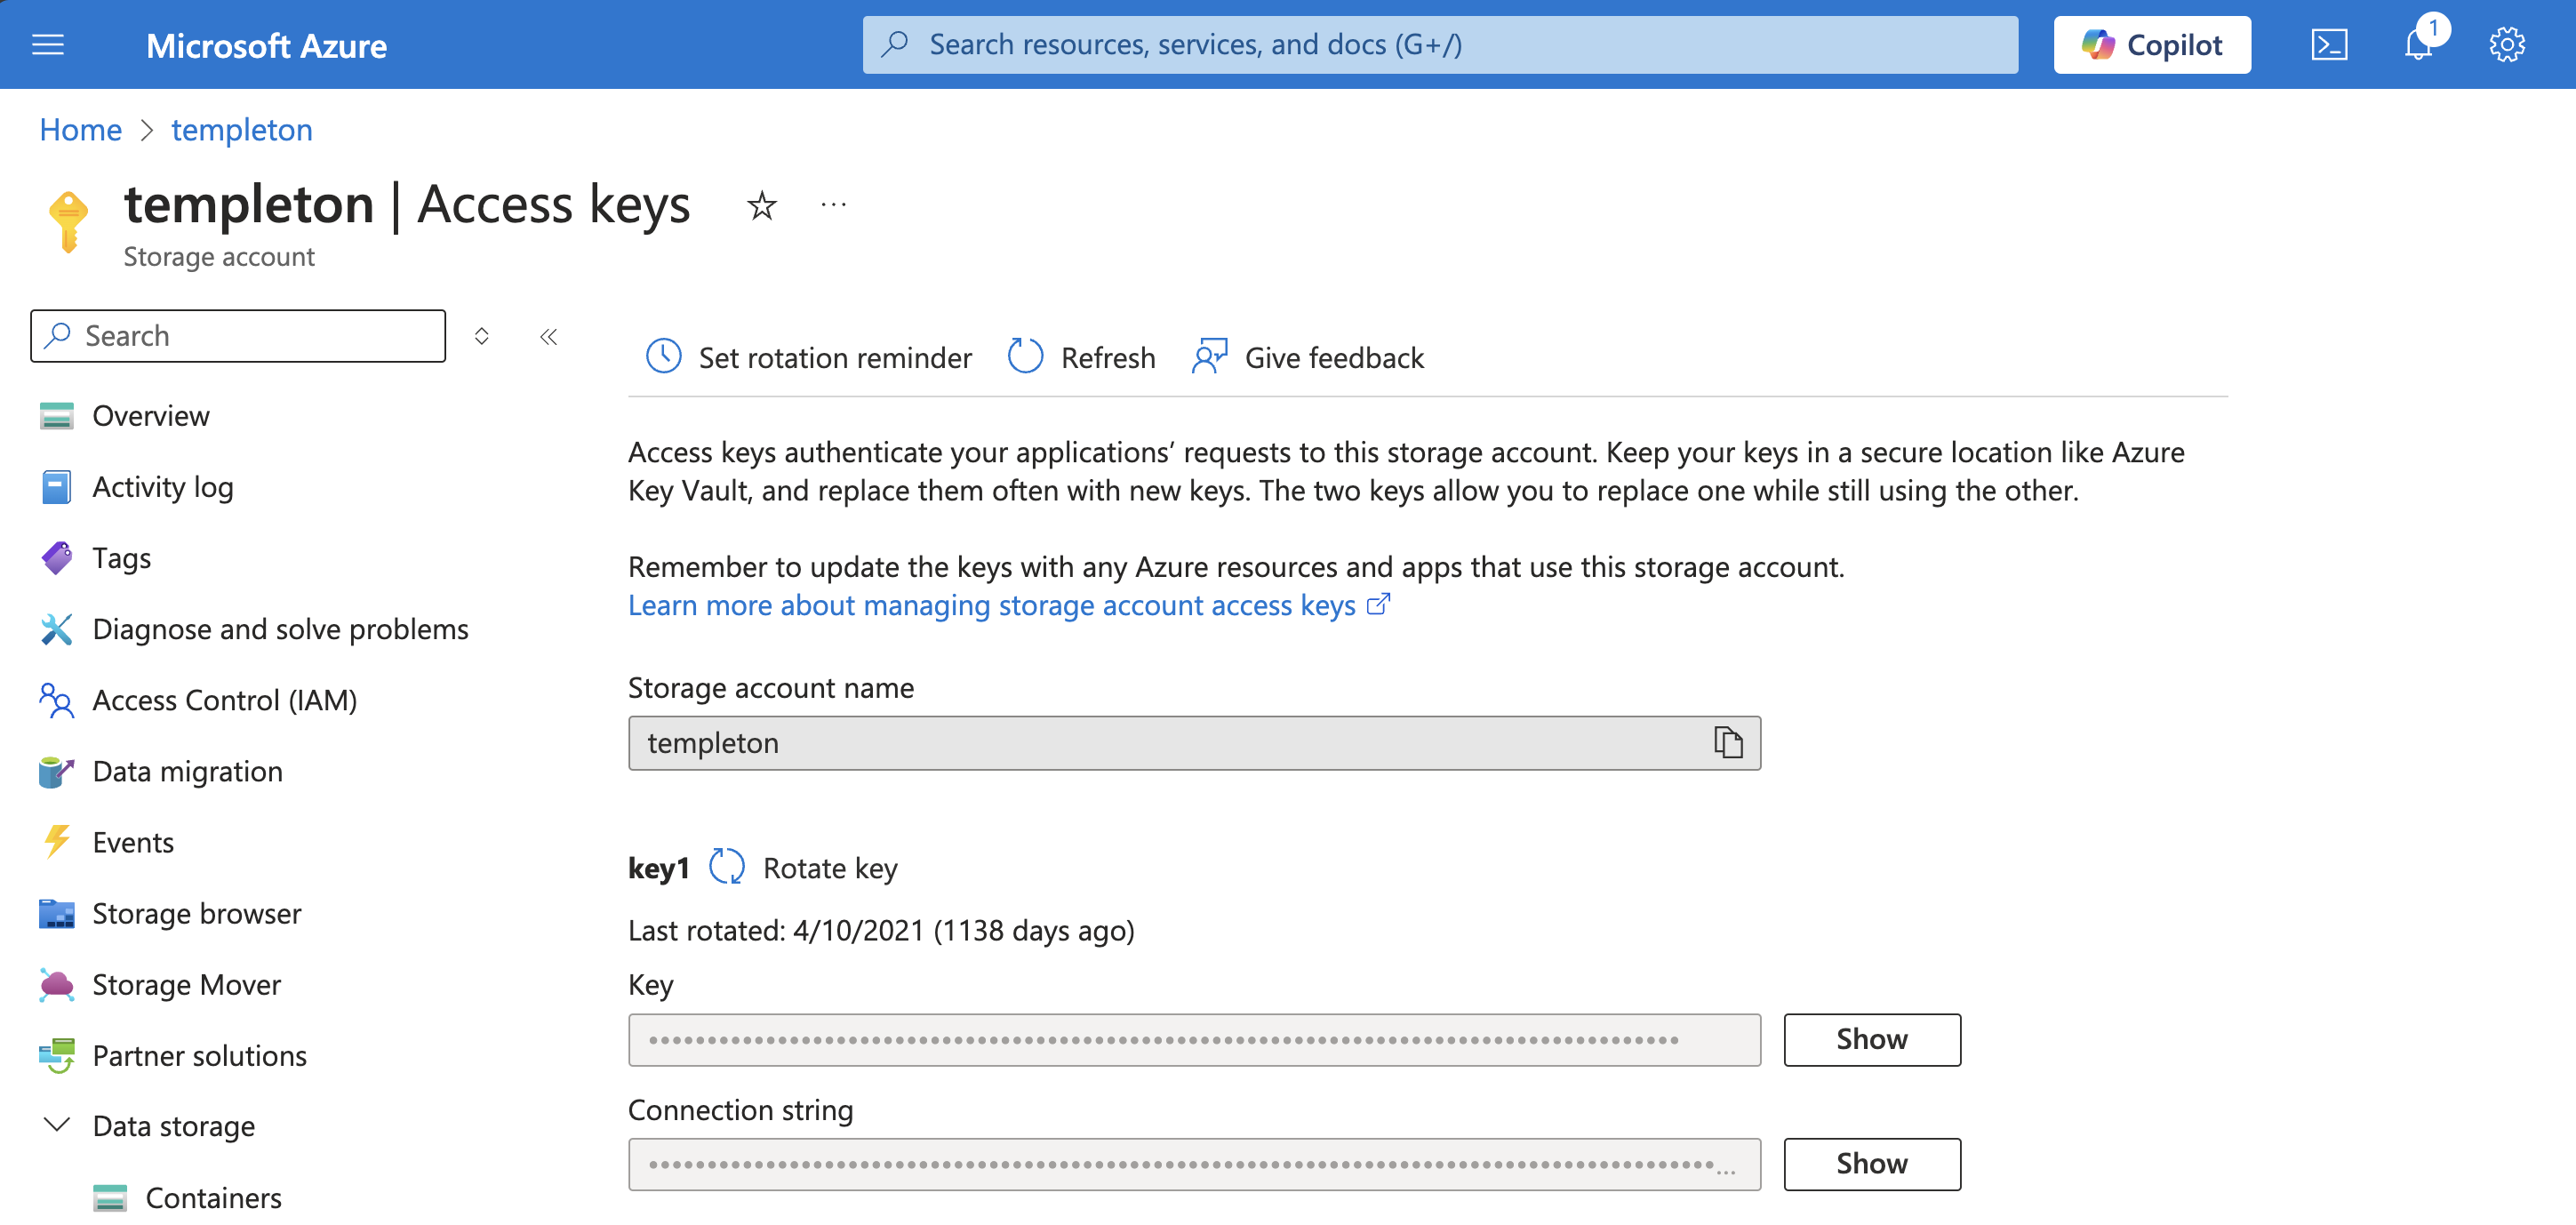
From the Azure Portal, retrieve your Account Name and Account Key.

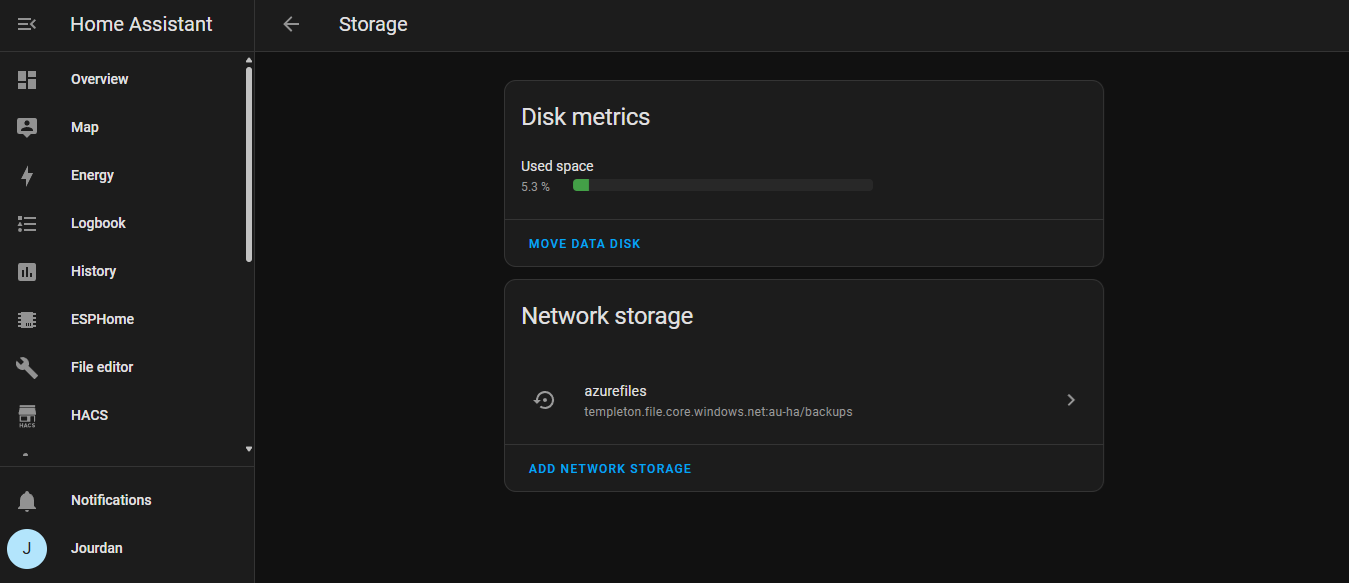
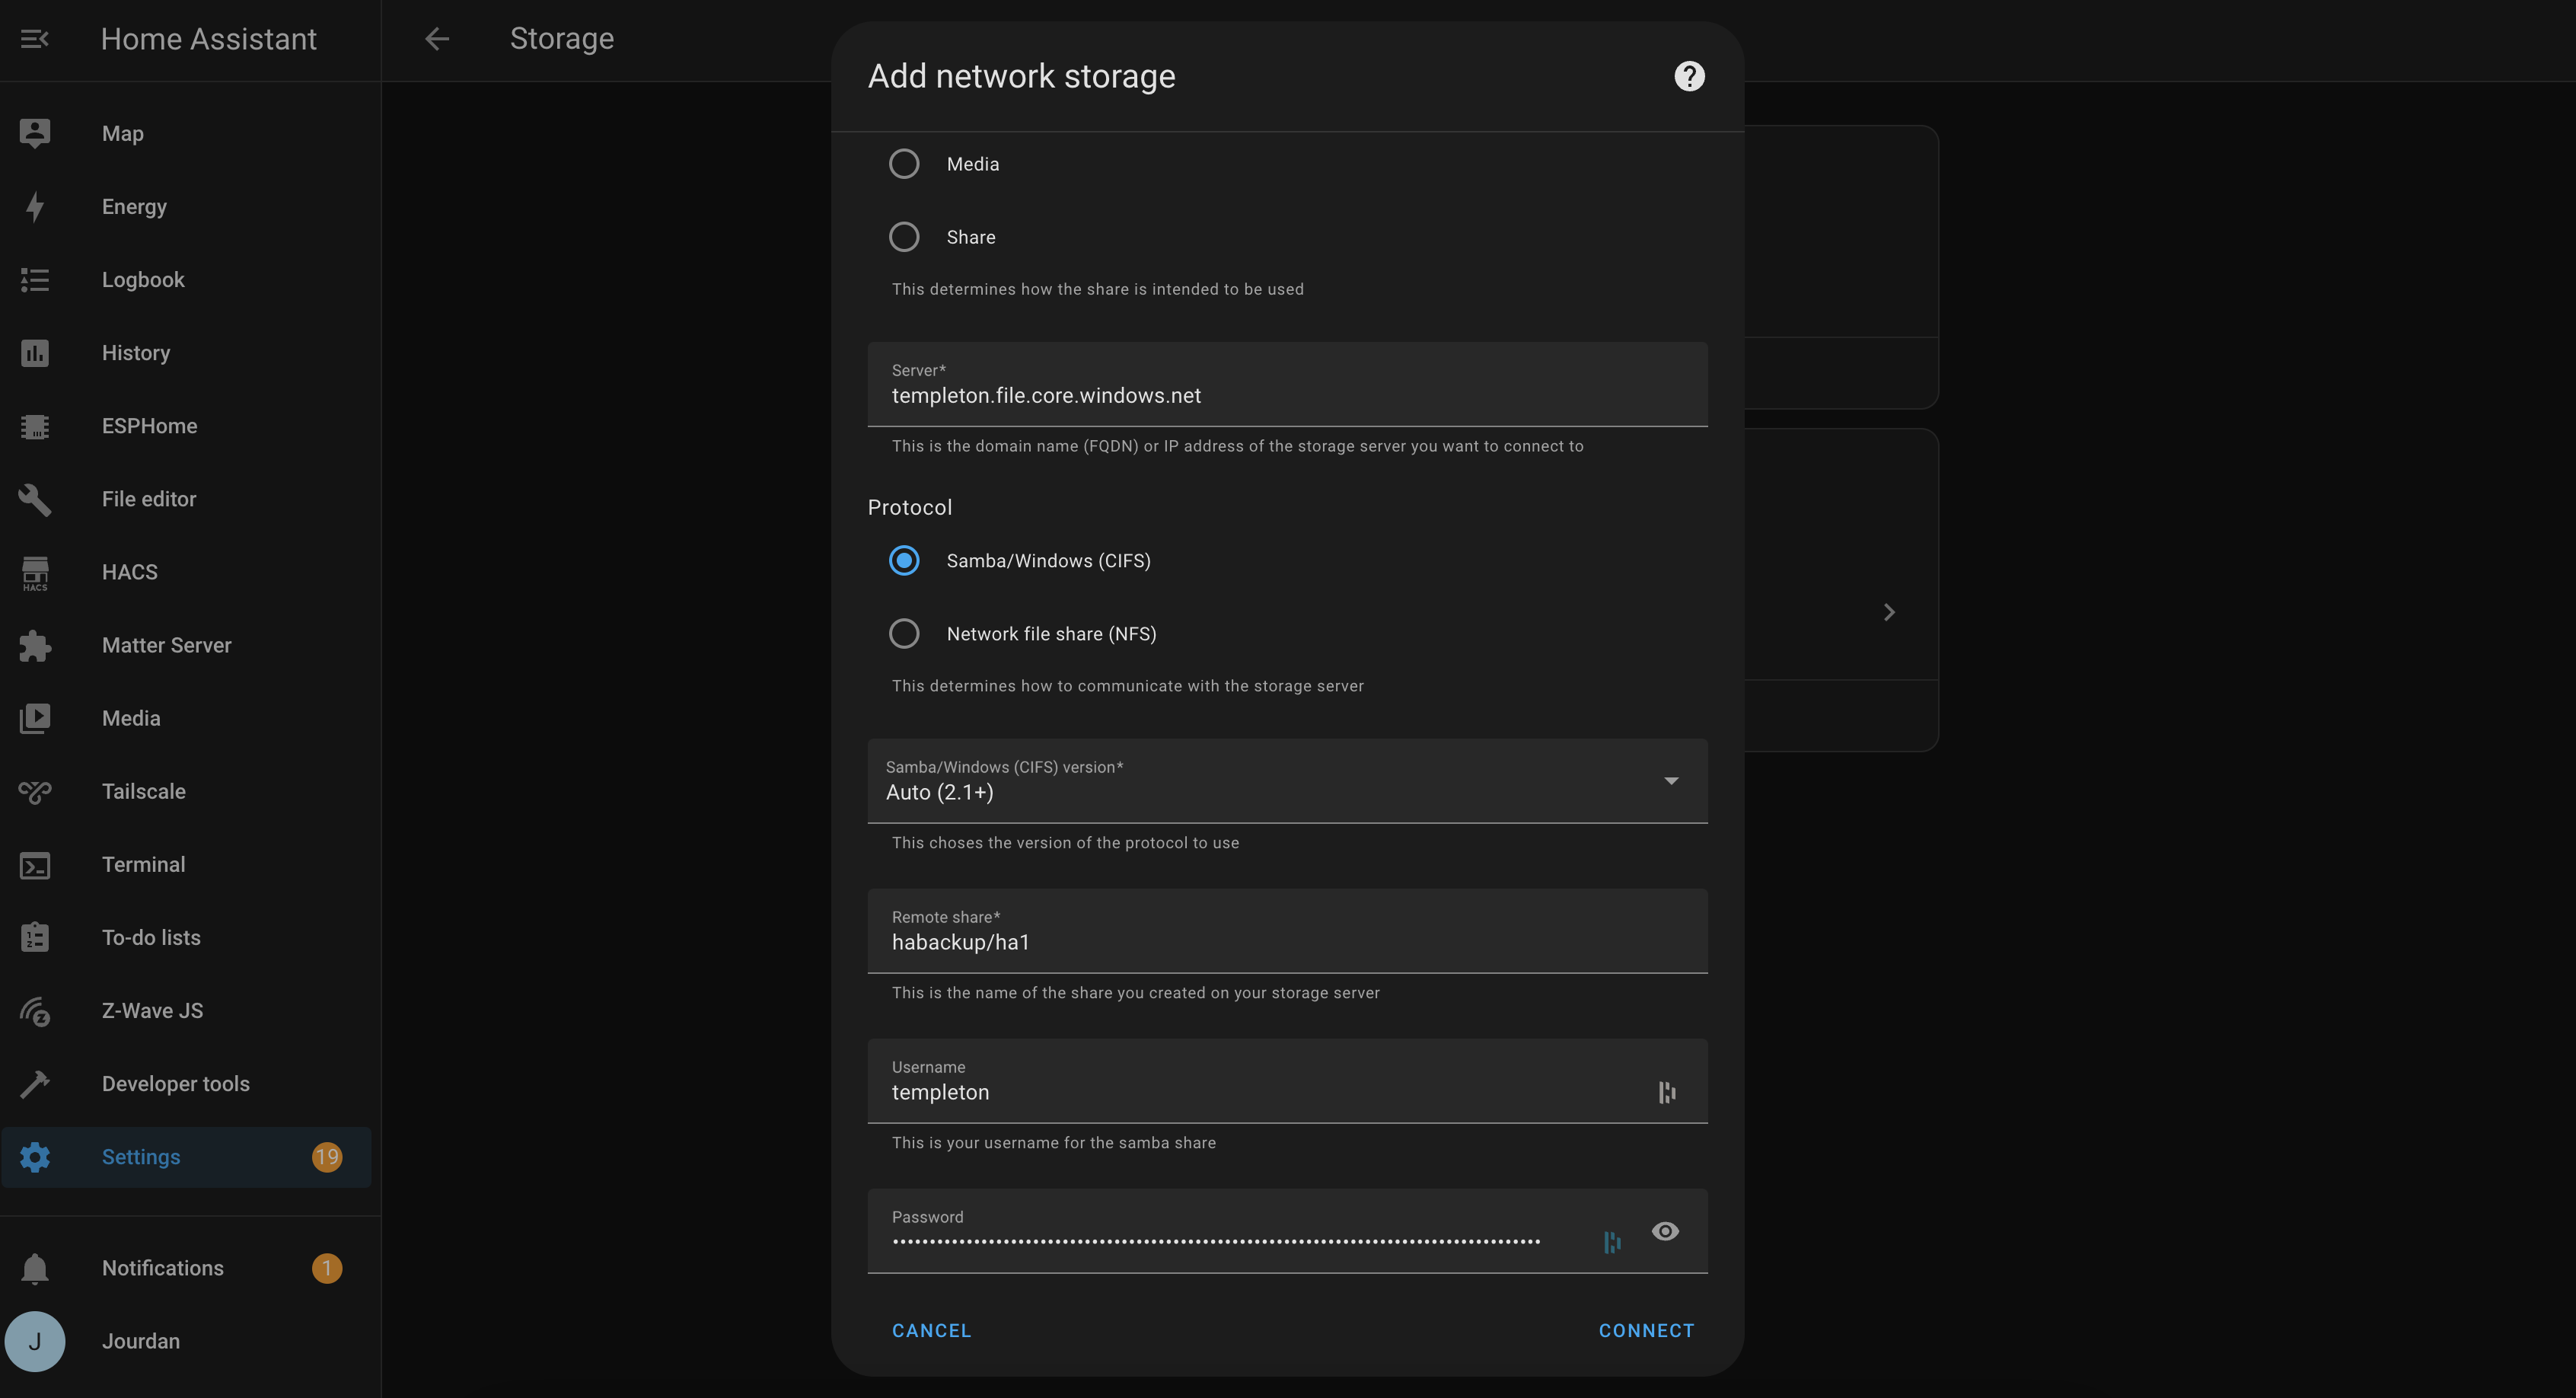
In Home Assistant, click Settings > System > Storage and click Add Network Storage

Enter the following details:
| Name | Value |
|---|---|
| Name | I usually call mine something like azurefiles. |
| Usage | Backup |
| Server | {your_storage_account_name}.file.core.windows.net |
| Protocol | Samba/Windows (CIFS) |
| Remote Share | {your_share_name}/{optional_sub_path} |
| Username | {your_storage_account_name} |
| Password | {your_storage_account_key} |
Click Connect and HA will validate the details before adding as a mount point.
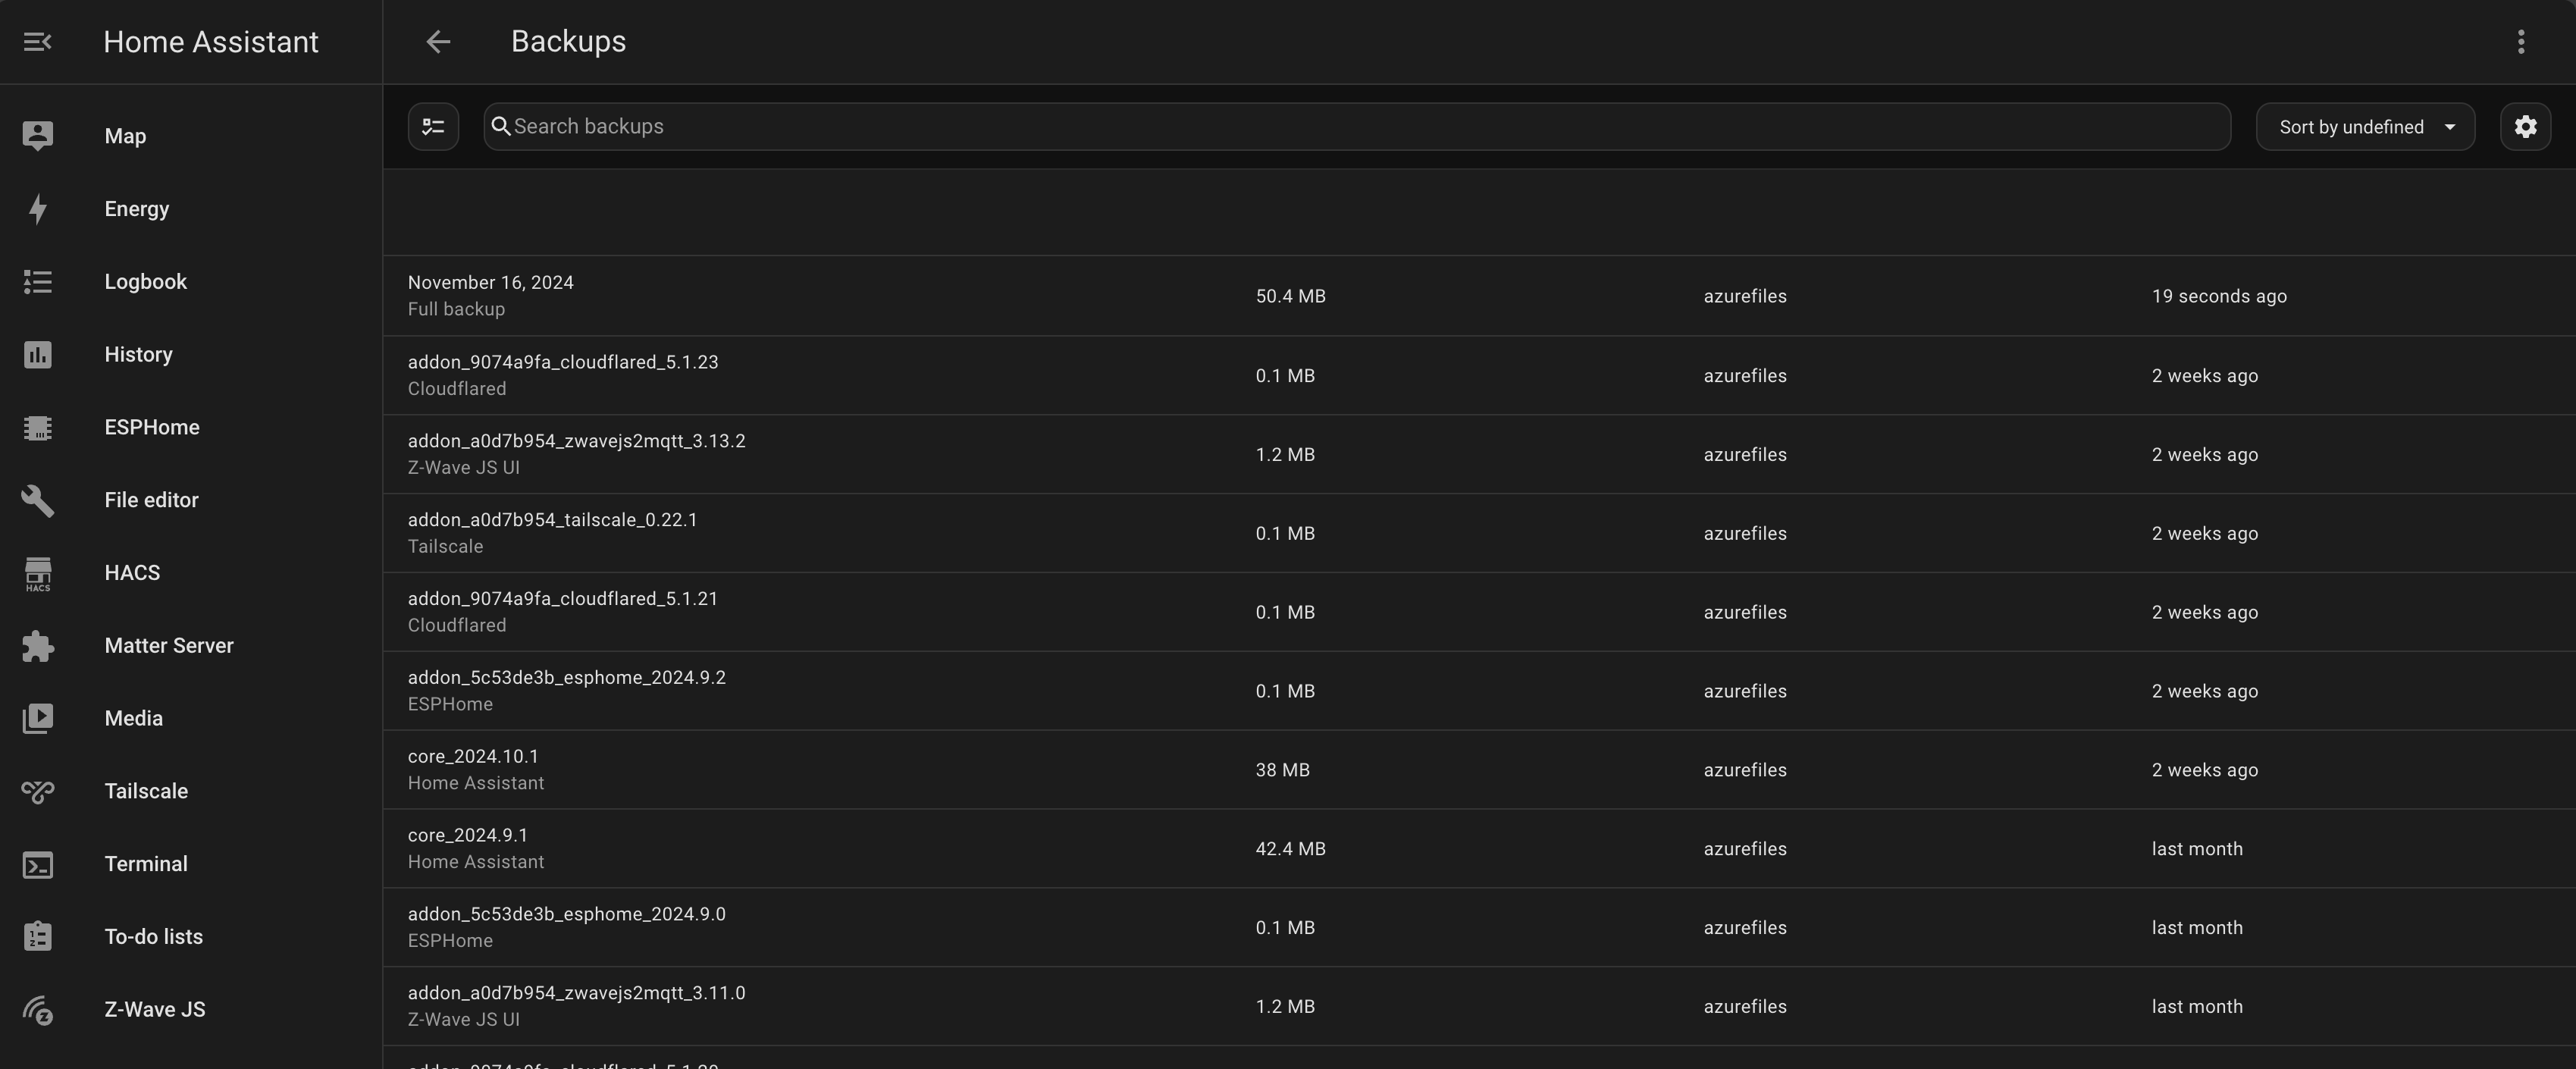
Click Settings > System > Backups and click Create Backup. Complete a full backup to the mount point you created earlier.

That's it! Now when you update your add-ons or Home Assistant versions, you'll have your backups uploaded off-site automatically.