Working collaboratively on a set of reports in Power BI can be a complicated exercise. I find most issues occur when people are trying to share the same non-SQL data source.
If you're querying a SQL database, sharing the data connection is quite simple. However, what do you do if your data is sitting in a spreadsheet? Loading data from a CSV or spreadsheet is a perfectly valid scenario.
There are a number of options within Power BI to accomplish this:
- Reference a local file with Query Parameters
- Upload your file to a public website
- Upload your file to a SharePoint Document Library
This is not an exhaustive list. For this post, I'll be focusing on the last option - loading data from files in a SharePoint document library.
Preparation
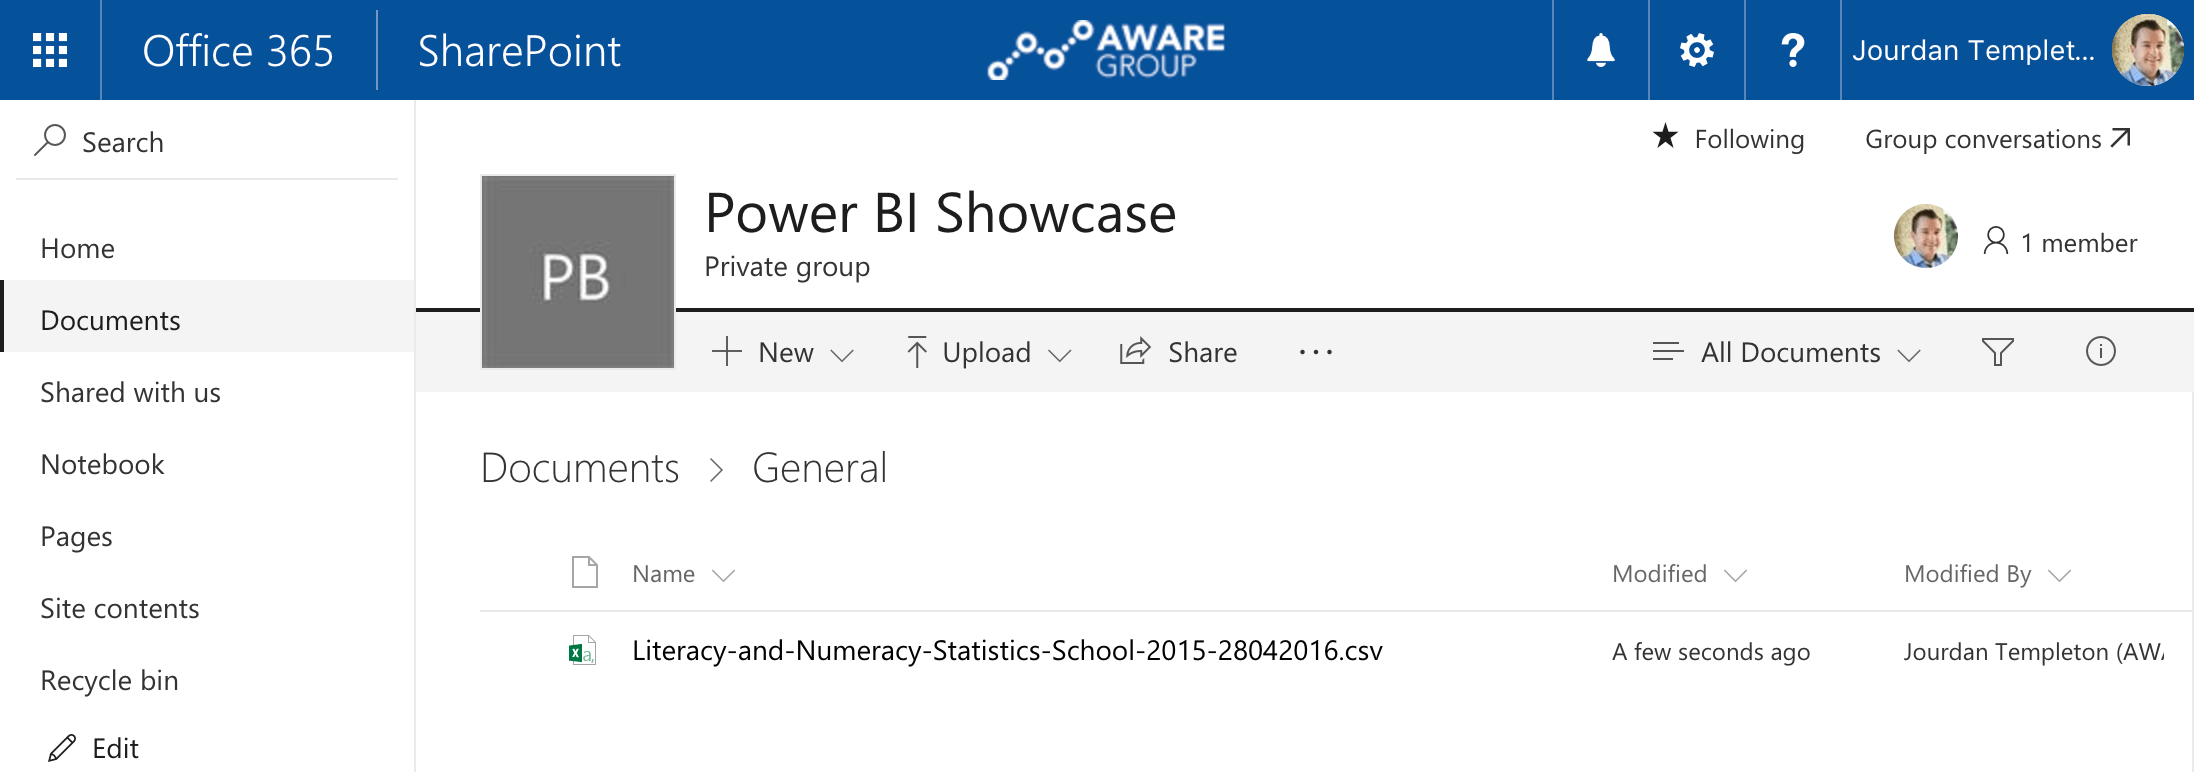
To begin this exercise, you will need to upload some data to SharePoint.
I have selected a public dataset from the New Zealand Qualifications Authority (NZQA) - "Literacy and Numeracy 2015: School". This dataset contains the average Math and English scores of High School students in 2015, broken down by school.
Download the dataset found here: Literacy and Numeracy 2015: School and place it into your document library in SharePoint.
Instructions
1. Build the URL
The most complicated part of this process is getting the right SharePoint URL. The direct URL for SharePoint is built from three components: <domain>/<site and folder>/<filename>
First, browse to the directory in SharePoint where you uploaded the file. Copy the URL. It should be similar to the URL below:
https://<site>.sharepoint.com/sites/PowerBIShowcase/Shared%20Documents/Forms/AllItems.aspx?id=%2Fsites%2FPowerBIShowcase%2FShared%20Documents%2FGeneral
Next we need to put together each component of the direct URL:
Domain
Taken from the beginning of the URL.
Sample: https://<subdomain>.sharepoint.com
Site and Folder
Taken from the id attribute of the URL and replace %2F with a forward slash (/).
Sample: /sites/PowerBIShowcase/Shared%20Documents/General
Filename
This is the name of the file you uploaded earlier.
Sample: /Literacy-and-Numeracy-Statistics-School-2015-28042016.csv
If you combine these three elements into a single URL and paste into your browser, the file should begin downloading (after authenticating).
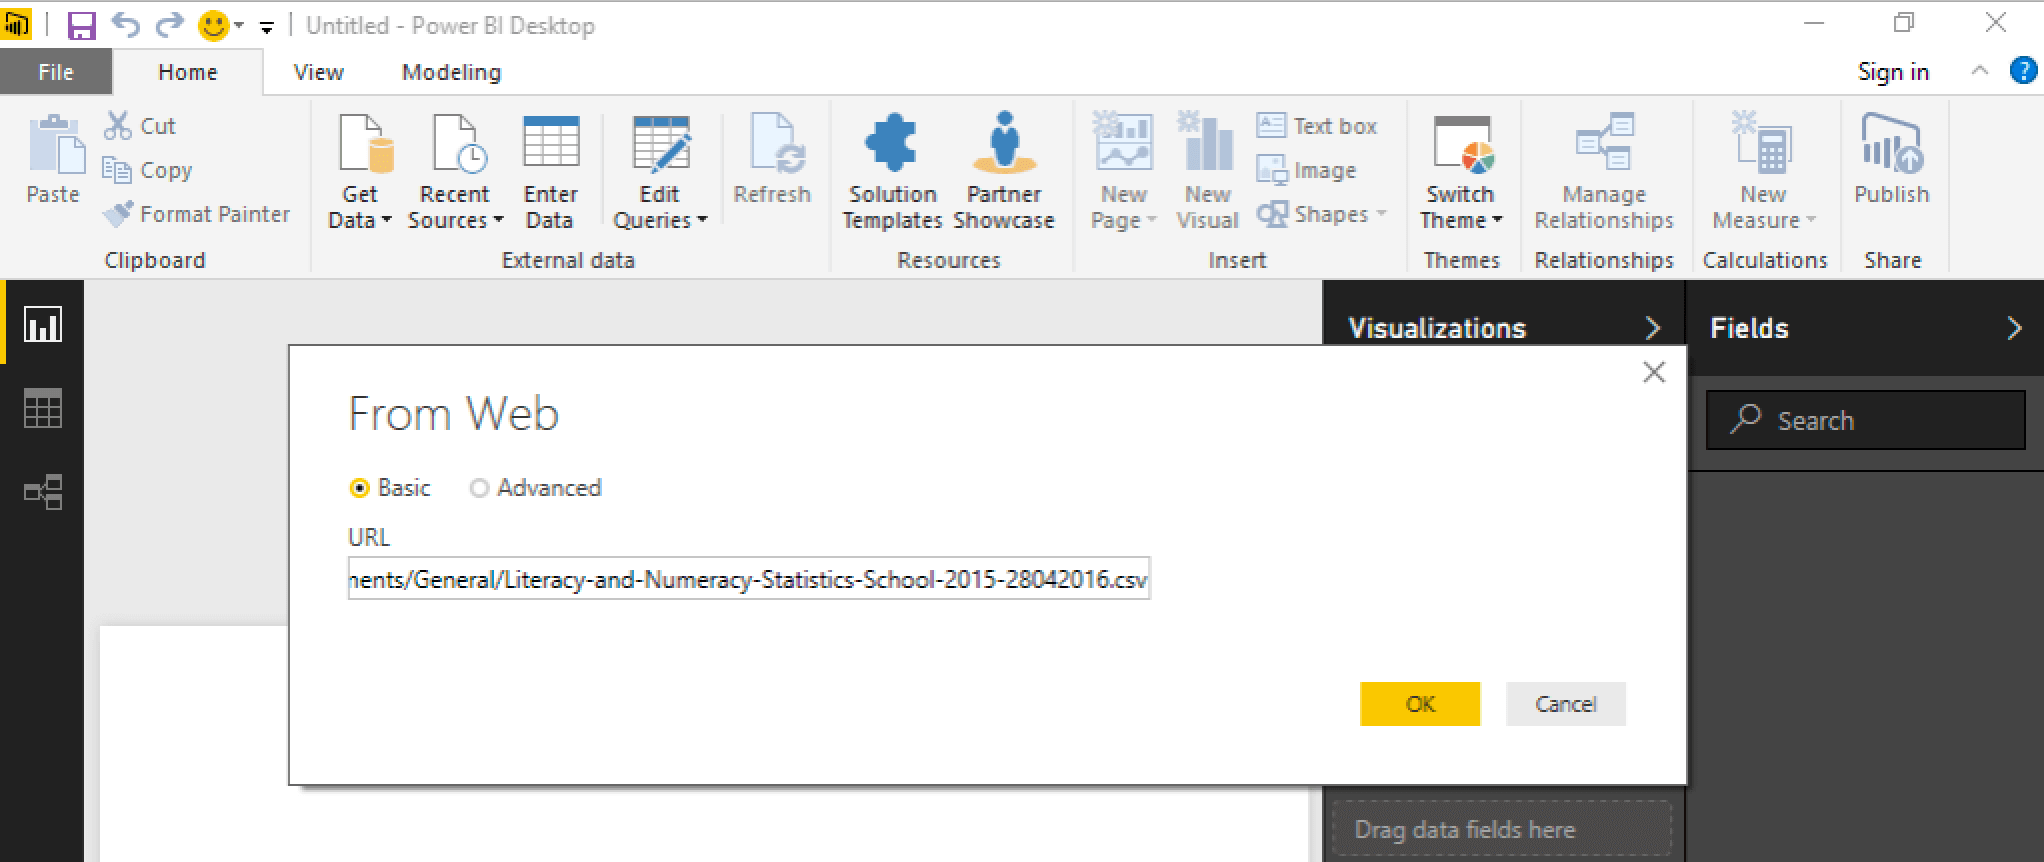
2. Add a new data source to Power BI
Use the 'Web' datasource and enter the URL built above.
3. Authenticate with a Work Account
Power BI requires credentials to access the file in SharePoint. Log in with a Work Account that has access to the site where your document is stored.
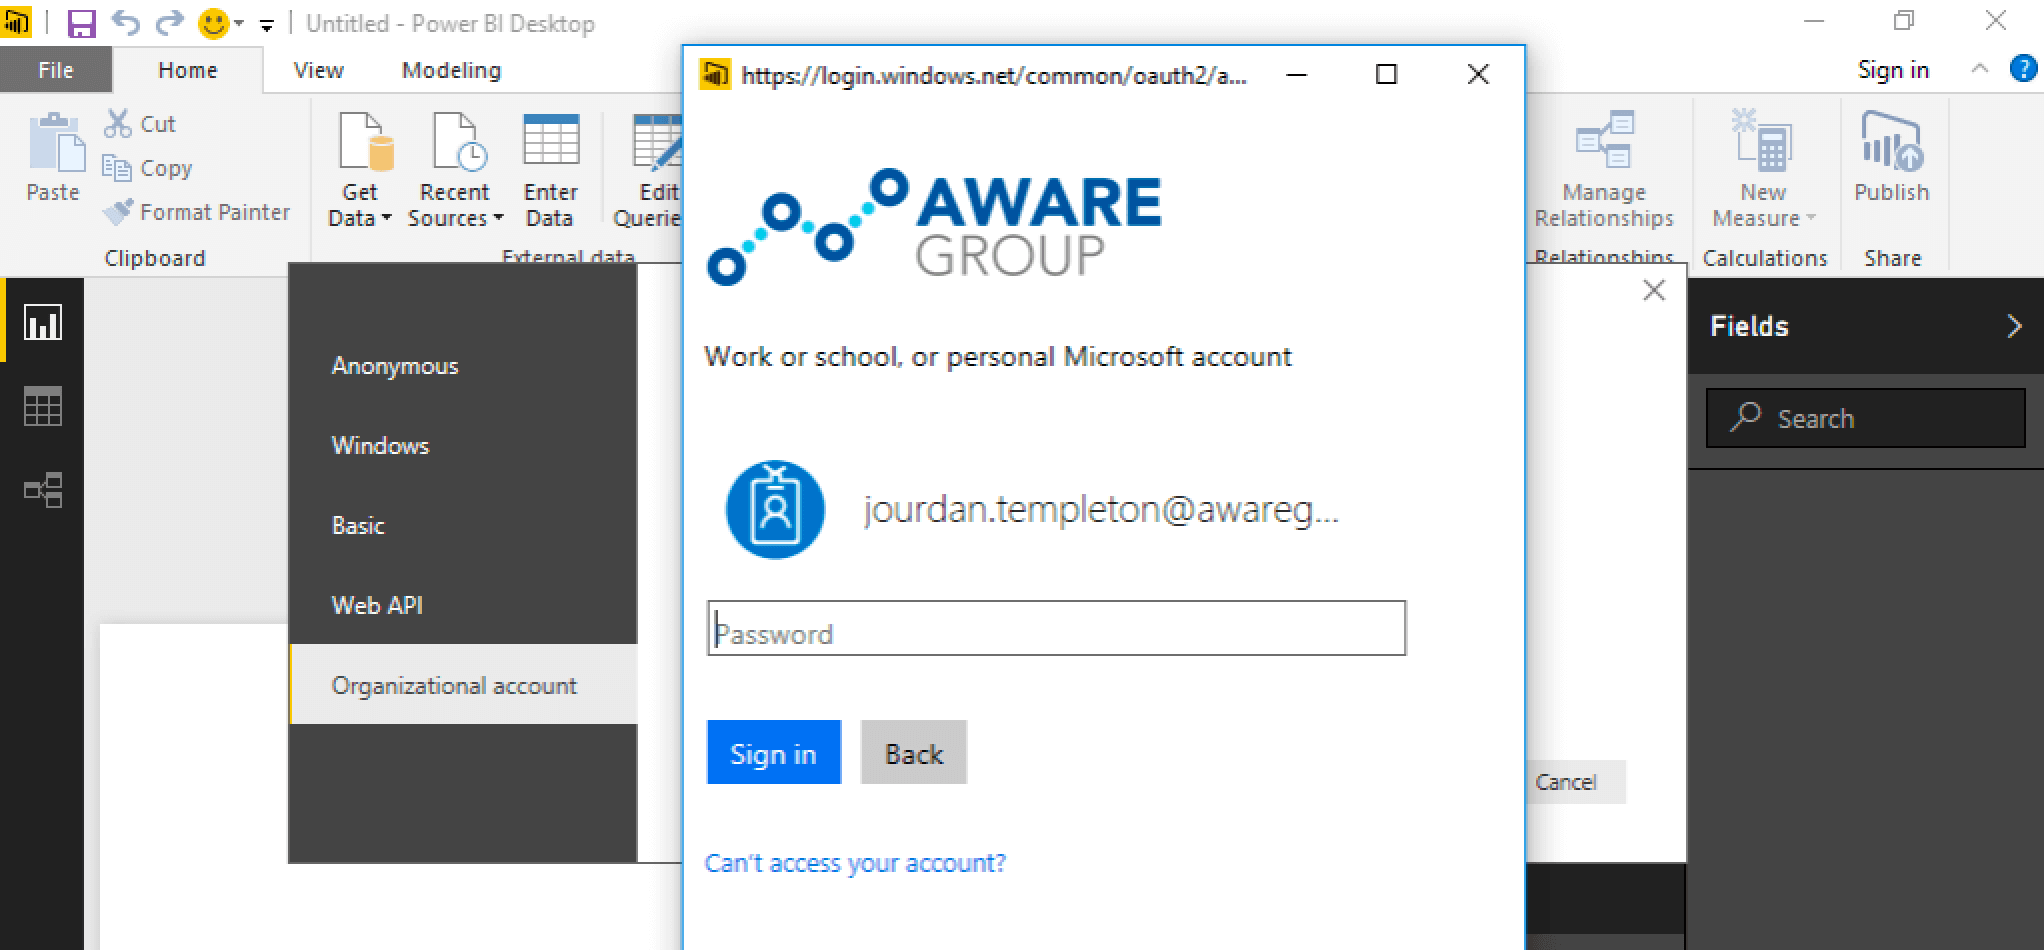
Note: For the purposes of developing your reports, using your own credentials is fine. You will be prompted for credentials again after publishing. This is where you would enter details for a service account.
Publishing
Publish your report into your Power BI workspace.
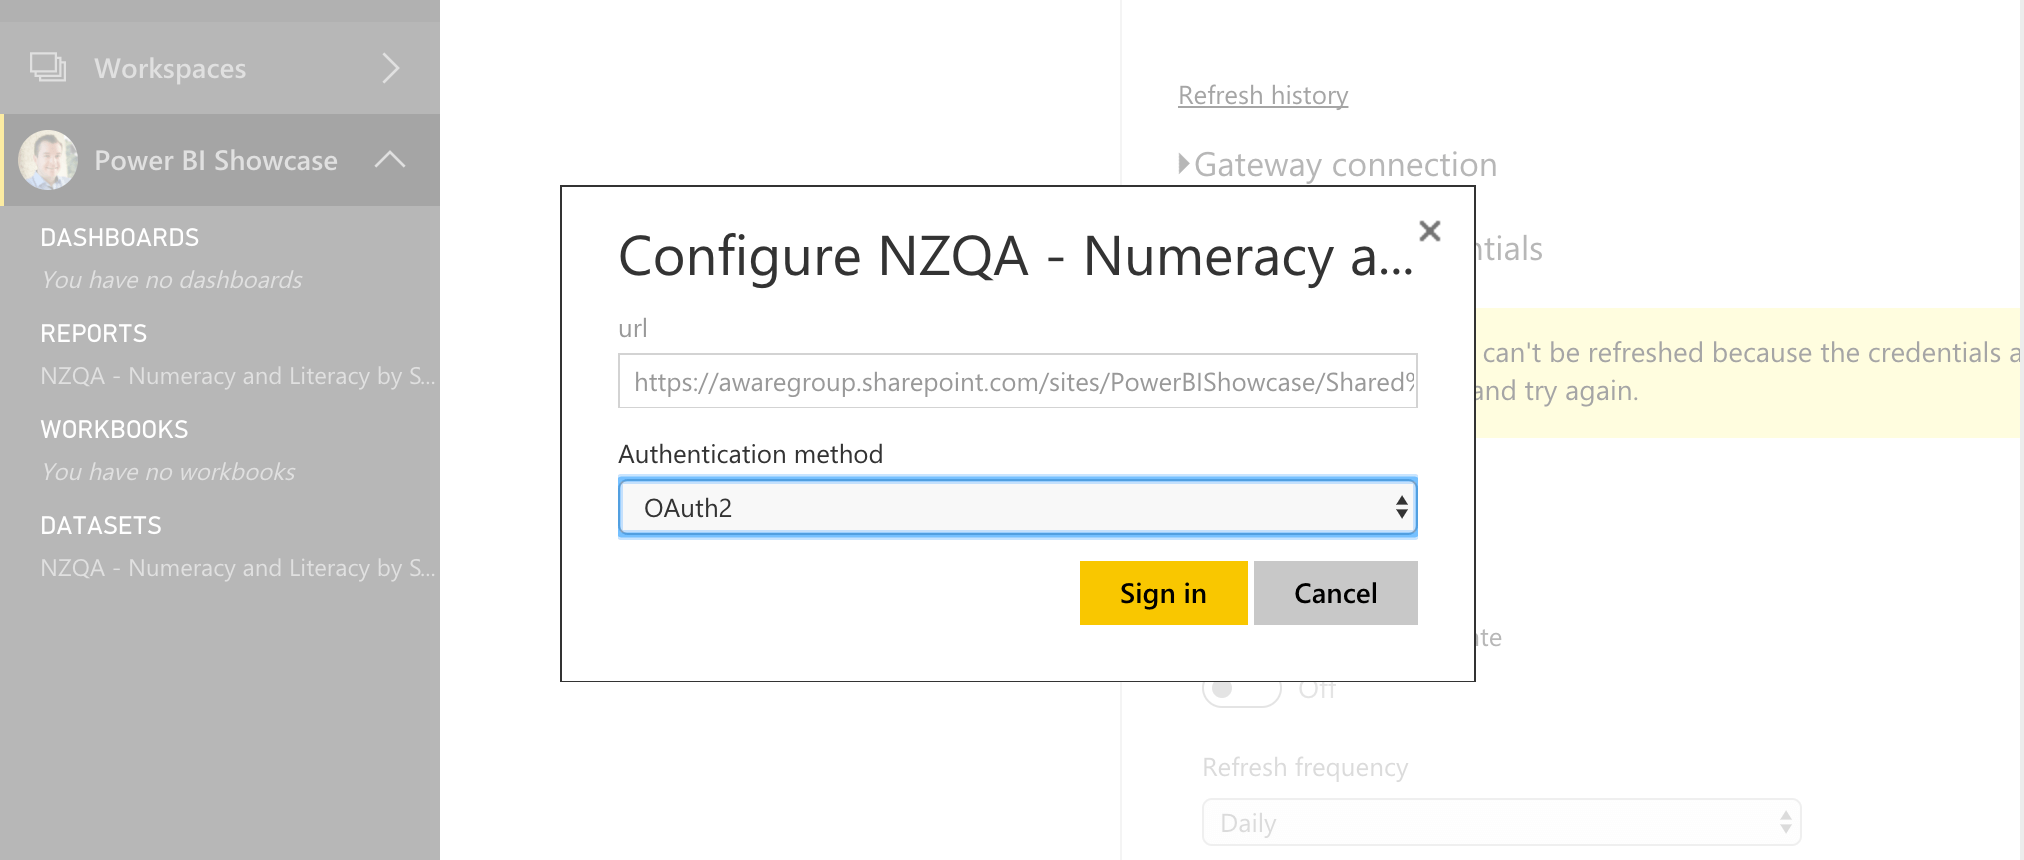
If your report requires data to be updated from the SharePoint file, you will need to configure the Schedule Refresh settings.
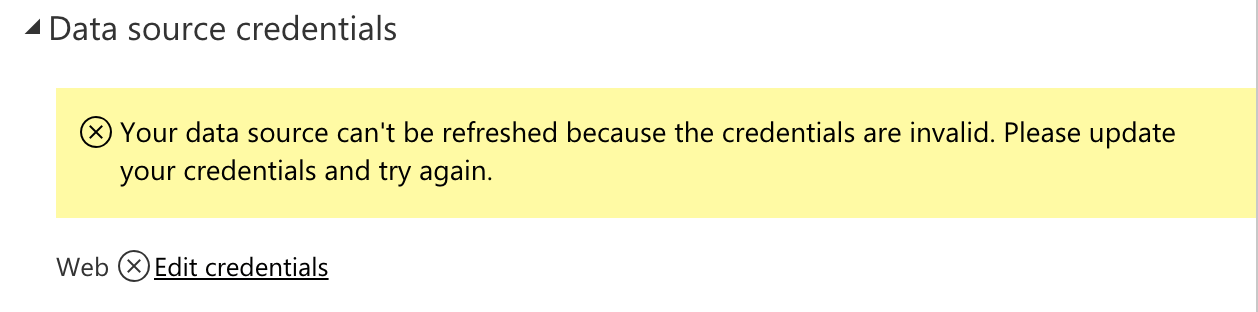
Click "Edit Credentials" and make sure you select OAuth2 as the authentication type. Enter your Service Account (Work Account) credentials and hit save.
Summary
If you've followed all the instructions, you now have a report that supports a scheduled refresh directly out of a SharePoint document library.
When it comes to sharing your PBIX files, colleagues that have access to the file in SharePoint can easily collaborate.
Jourdan